First “Right click” on the downloaded ISO file and choose “Open with”

After clicking on “Open With” choose “Windows Explorer” option

After clicking on “Windows Explorer” double click on “PrintMaster v18” Application file

Open the “PrintMaster v18” Application file

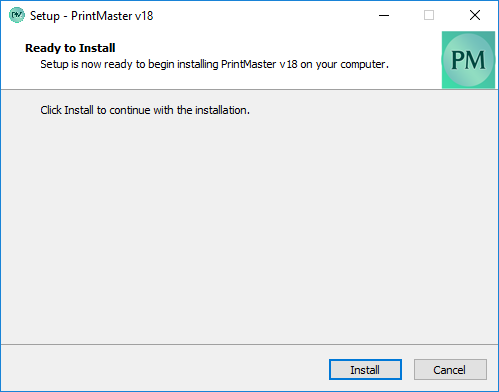
After this the following screen will appear, click on “Install” here
Same time the Product registration windows will appear, here you will need to add the Name, Email and License key. There three fields are mandatory and Organization is optional

After adding Name, Email and License key the “Activate” button will enable. So, click on “Activate”
After this the installation will start and first all pre-requisite will install. Click on “Next” in PDFill installation windows

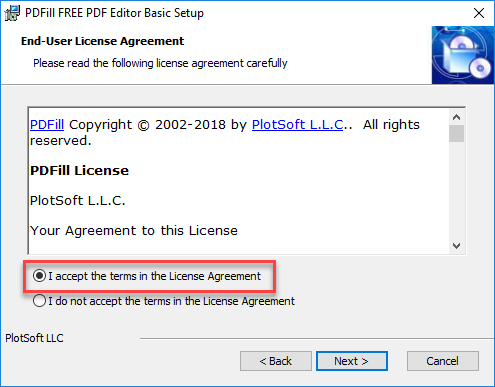
After clicking on “Next” Accept the License Agreement and click on “Next”
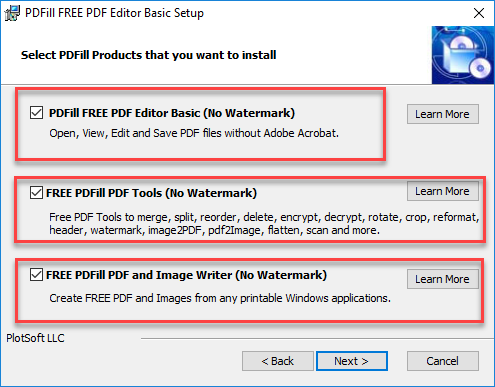
Check all check boxes and click on “Next”
Click on “Next” button after setting the following settings
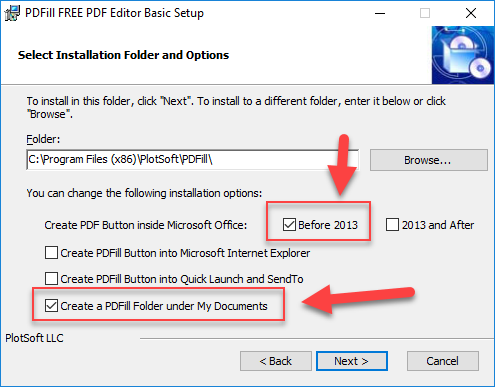
In this screen just click on “Install”

After clicking on “Install” the PDFill installation will start.

After completing the installation click on “Finish”

After clicking on Finish button PrintMaster Gold v18 installation will start and it will take some time

During installation the “dot net framework” windows will appear and we will need to install it. So, click on “I agree” and then click on “Install”. Dot net installation will take some time.

After successful installation of “dot net framework” click on “OK”

After the installation the following screen will appear, Click on “Next” button here

Accept the Agreement License and click on “Next” button
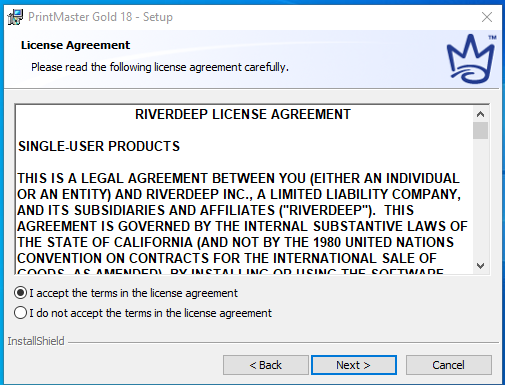
Choose “minimum” radio button and click on “Next” button
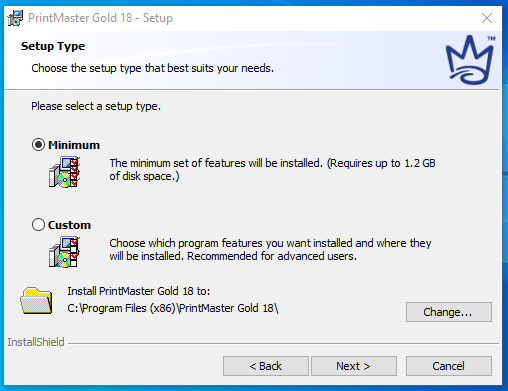
After this the following screen will appear, click on “Install”
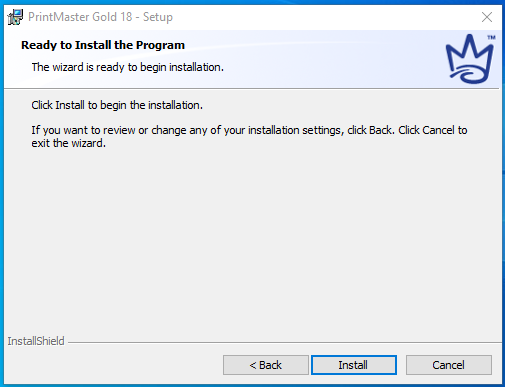
After clicking on “Install” button the installation will start and it will take 10 – 15 minutes

During installation the following windows will appear. So, click on close button

Click on “Finish” button
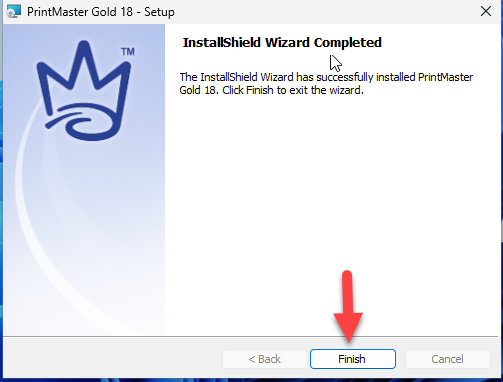
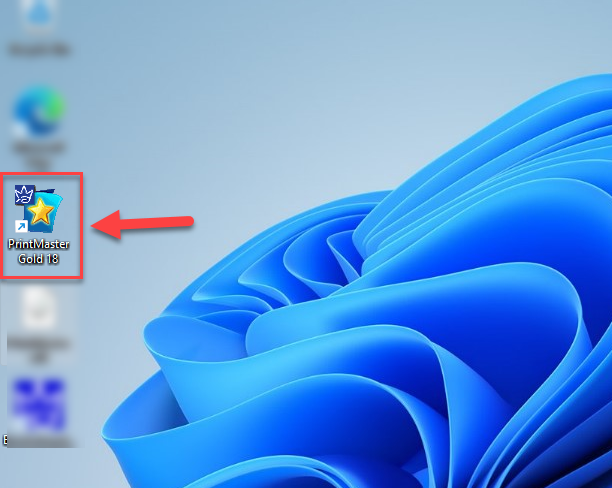
Now you may use the PrintMaster Gold v18 after launching it from Desktop shortcut icon
